Entre voyages, écriture et images, mon humeur vagabonde. Rejoignez-moi sur ces chemins de traverse où les mots et la couleur s’entrecroisent.
Bienvenue dans mon blog et dans ma boutique en ligne.
Cliquez sur le bouton “Boutique” pour y accéder.
Entre voyages, écriture et images, mon humeur vagabonde. Rejoignez-moi sur ces chemins de traverse où les mots et la couleur s’entrecroisent.
Bienvenue dans mon blog et dans ma boutique en ligne.
Cliquez sur le bouton “Boutique” pour y accéder.
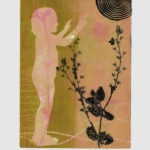
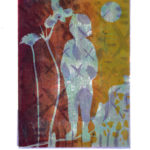
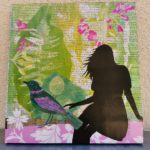
Let’s meet at the “Jardin de la Ferrière” at Amont-et-Effreney (70310) in the land of 1000 ponds, Sunday 13 September 2020 from 10am to 6pm for the festival of rare or unusual plants.
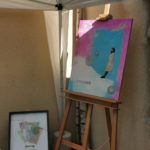
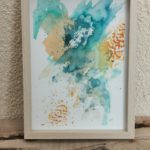
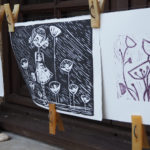
Danièle Simonin Consigny, from the Jardin de la Ferrière, was kind enough to invite me to exhibit my prints on the theme of plants. I thank her warmly for this.
To go there:
https://goo.gl/maps/a3SFYqj9HJnjtHv4A
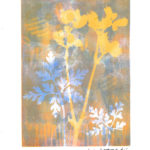
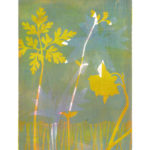
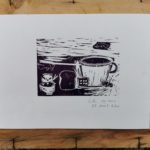
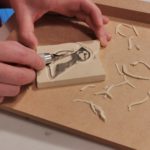
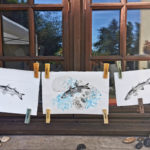
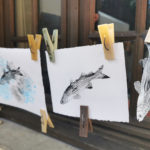
Linocutting workshop in a little corner of paradise
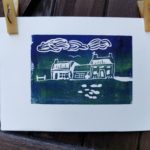
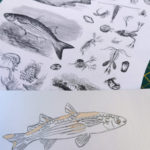
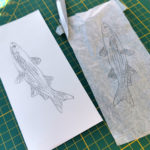
All starts by a drawing then a rubber block is sculpted by hand with a gouge before doing the same onto a linoleum sheet.
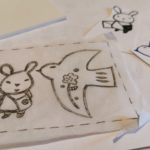
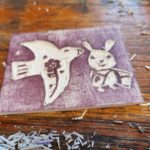
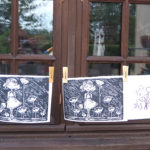
And here is the result !

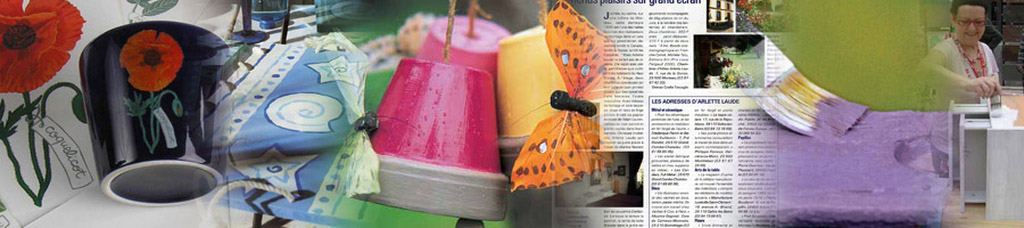
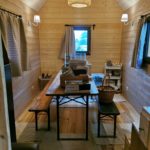
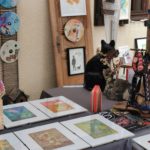
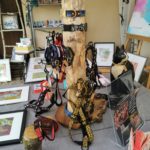
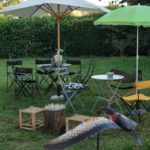
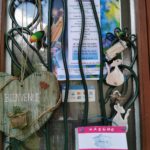
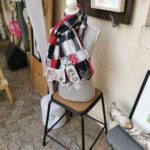
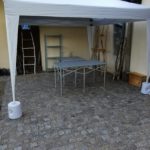
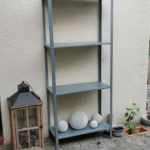
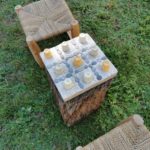
Now it’s time for our second edition of the summer.
Our arts and crafts sales exhibition will be held in my studio on
Friday 21 – Saturday 22 and Sunday 23 August from 2 pm to 7 pm.
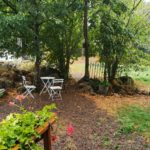
Come and visit the studio to discover our new products and before leaving, take a break in the garden.
We will drink kefir and iced tea.
Isn’t that a good idea?
See you soon.
We count on your presence. You’re welcome !


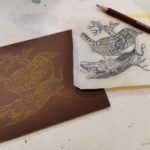
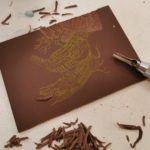

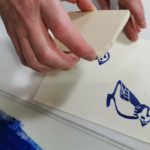

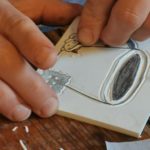
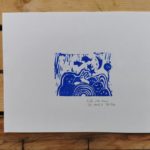
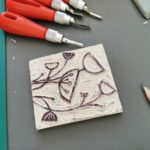
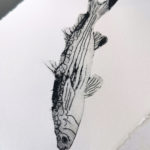
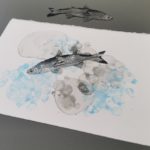
A first day of initiation to linocut for Laurence and very nice results.
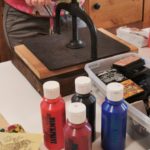
First tests on rubber block, easy to dig with a gouge, then work on linoleum. The “cutting board” specially designed to block the linoleum plate makes it easier to work and avoids hurting yourself with the gouge.
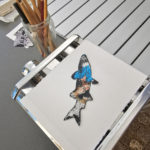
It is printed with a spoon, which gives very good results. But you can also use a binding press. The results vary according to the ink and the support (paper / cloth) used.
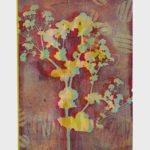
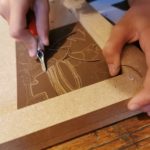
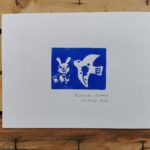
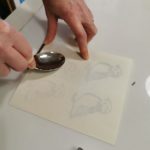
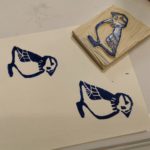
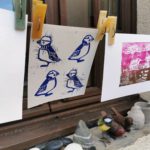
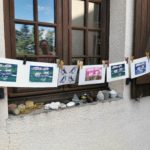
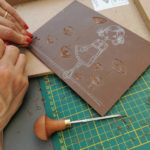
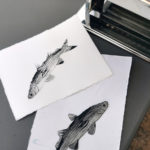
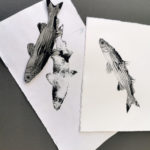
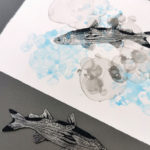
It was on a hot day that Celine, aka “Rag doll”, started to learn linocutting.
After a first try on an eraser block to practice gouging, Céline transferred one of her drawings on a linoleum plate using white transfer paper (Copyrite) and patiently dug the plate to reveal the patterns.
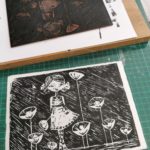
The inking and the spoon marouflage produced very beautiful impressions.
Bravo Céline !

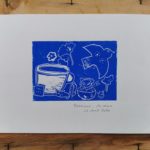
Printing from Tetra pack® packaging is the art of recycling.
Perfect to learn about engraving.
The material is easily cut with a cutter knife or a pair of scissors.
Dry-point engraving is done on the side covered with “aluminium” paper, then certain parts are removed to reveal the cardboard and then reveal deep “blacks” later on.
The plate is inked with intaglio inks using a small tarlatan pad.
It is necessary to insist on the bare parts and the grooves.
The printing is done on intaglio press with a special sheet of paper for engraving or wet watercolour paper.
If there is no intaglio press, a pasta machine can be used.

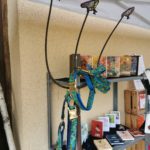
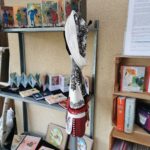
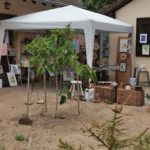
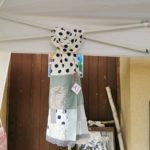
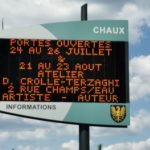
You missed the July exhibition ? You still have a chance !
Welcome to the “in and out” studio from August 21st to 23rd. And take a break in the garden
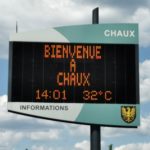
The studio is getting ready for its open doors on the garden. We are waiting for you, between creators, from Friday 24th July to Sunday 26th July between 2pm and 7pm. Don’t forget to take your mask to discover the creations presented inside the studio. We look forward to welcoming you!
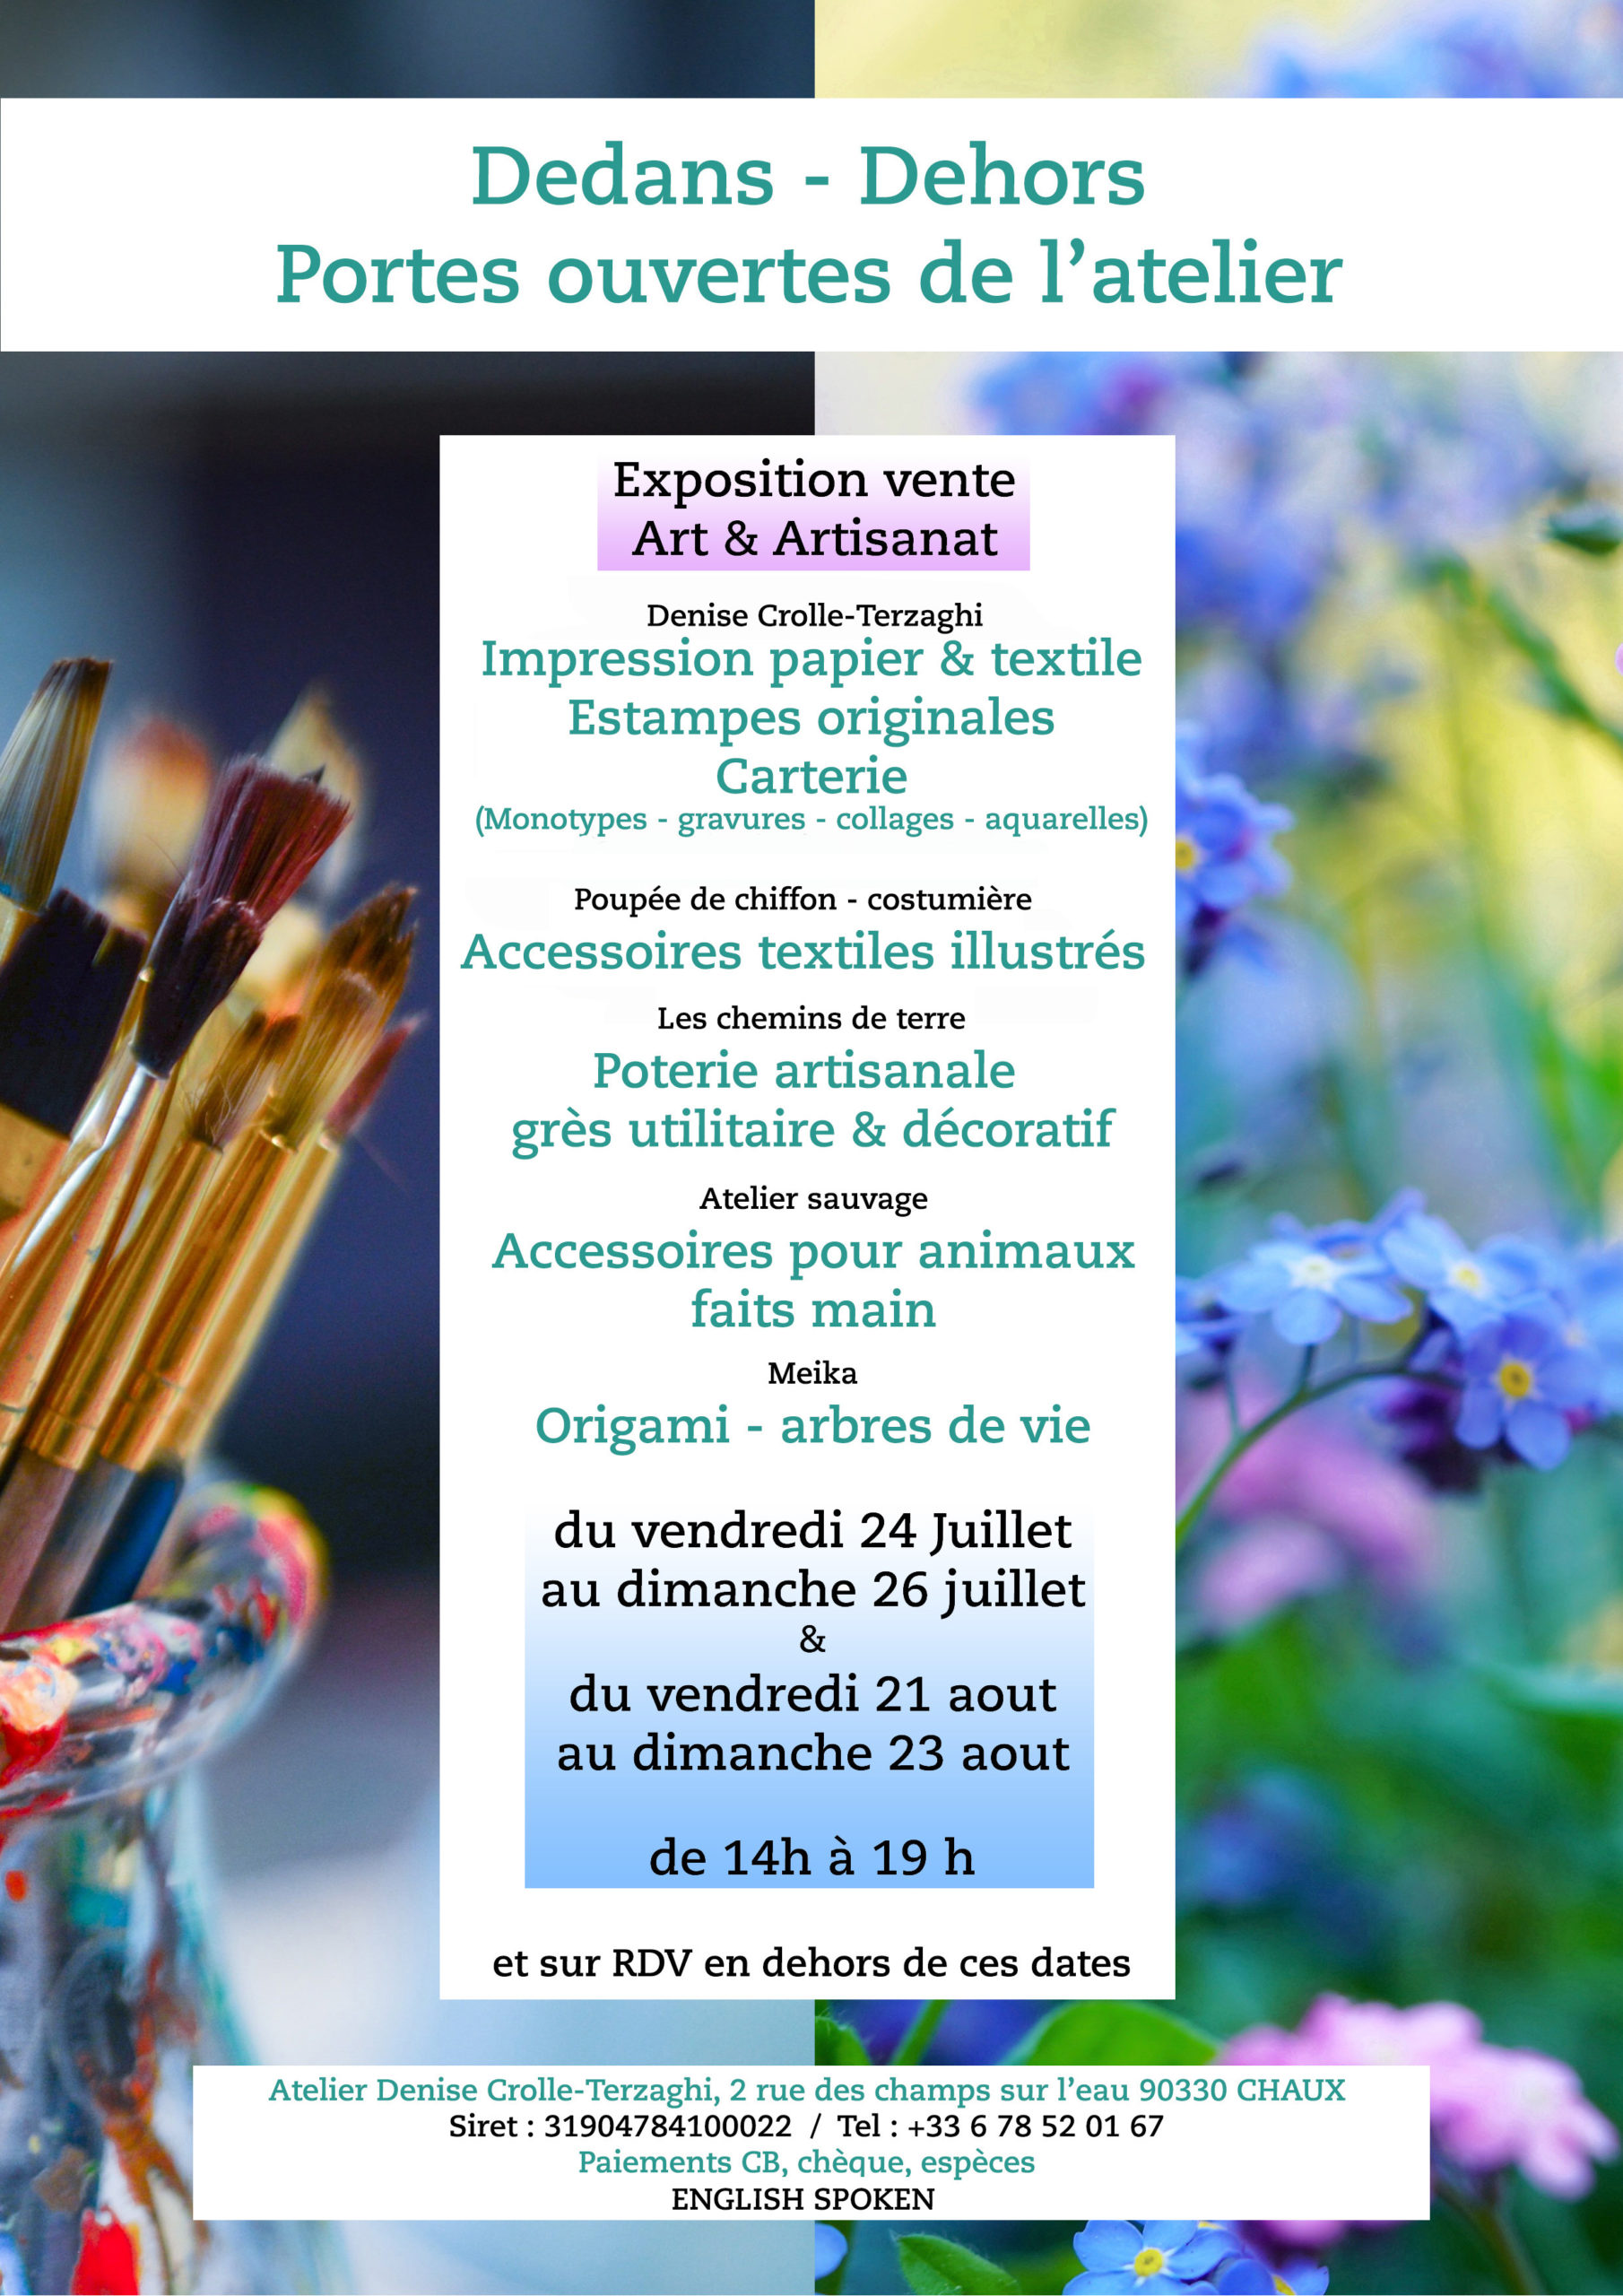
You’re welcome !